Friday, February 1, 2019

Monthly Garden update

This year is all about recouping from the renovation, so I'm planning on doing a monthly update of the garden (since that is something that can change quickly! ie. weeds can go fast, ha ha).
I didn't take any photos for January but just imagine anything that survived the renovation went wild and overgrown and anything that didn't survive there is just a mud pit, or weeds. There's always weeds...

I have been able to do some gardening in fits and starts last month while Nora was napping. Here's the recap!

Right side garage
 I was able to set some stones and stepping stones in preparation for getting some ground cover eventually. Even though it's the rainy season it makes it much easier to dig holes! I was also able to plant some Breath of Heaven in the back, hopefully it will get bushy and take up some weed space!
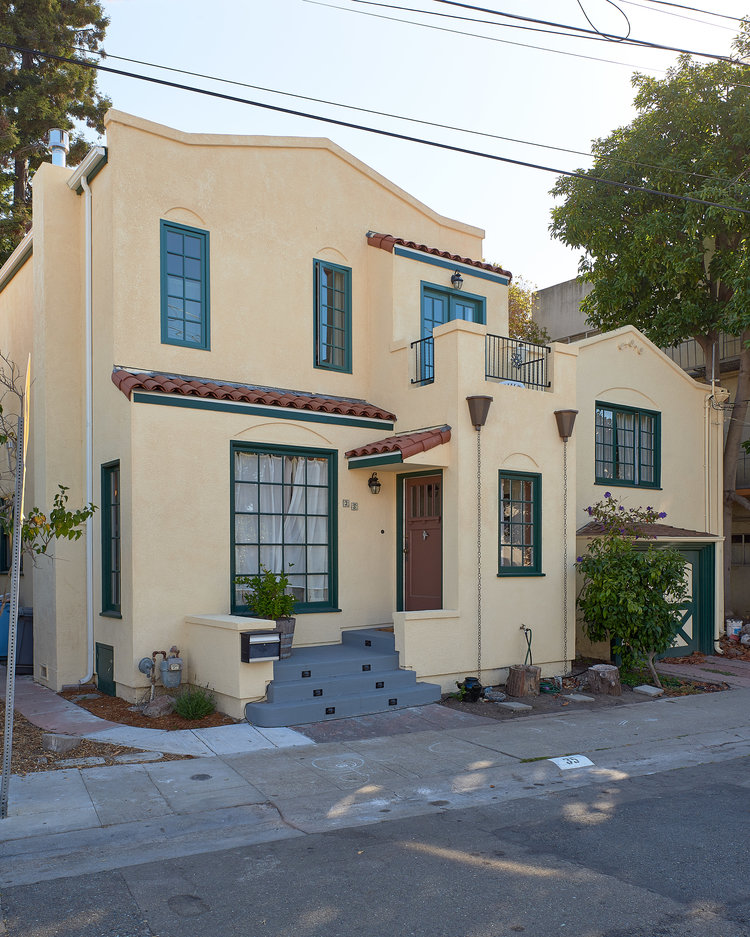
Front of house
The front section will be the next section to work on but there are some tulips and daffodils coming up!
Left of stairs


Between houses


Replaced a lavender bush that loves next to the stairs. And we just recently repotted our lime tree. The previous wine barrel pot had rotted out the bottom, hopefully now we'll get some limes again this year!


I'd love to get this area cleaned up! First step will be to clean up the left over pieces of construction garbage...


Right side of deck
 The abutilon needed a major prune. I was pulling 10-15ft branches out of the neighboring trees. Hopefully it will bush out. I was also able to plant some ground cover in the hopes that they will get established before the summer and Kiwi wants to lay in the cool dirt! I still need to replace some stepping stones that went missing.


Main raised bed
The sweet grass is taking over!
Left side of deck
Lots to do on this side. Kiwi agrees. I was able to get the watering system re-attached but the smaller hoses still need fixing so it's not usable yet. Good thing we're getting all this rain!
Left yard
Main area


The mud pit that is where our lawn used to be. Our nectarine badly needed a trim to prune back 2 years of growth and some branches that were killed off during a rare frost last year. Hopefully we'll get enough nectarines this year to make some more jam!

There's still tons to do but I'm trying not to get overwhelmed and just take one small project/section at a time and am currently focusing on trying to take advantage of the damp earth and take care of anything that might involve some digging (up soon, remove the root graft that's growing and replace with our third try at an Asian pear tree...Third times a charm?). The one silver lining is that for the sections that I'd planted before I know what goes well in some areas and so am just looking to replace plants which will take less time wandering around the horticulture center. 

Monday, January 7, 2019

House Remodel 2016-2018

We had always discussed the possibility of expanding our house to add extra room, but it was always contingent on whether or not we decided to have kids. Well kid #1 showed up and we decided that, yes is it was a good idea to add some extra space. Over the course of a few months towards the end of 2015 we met with our lovely architect Laura Natkins (www.natkinsarchitect.com) and worked out the plans to fit what we were looking for (another bedroom with walk-in closets, bathroom and office). It was important for us to keep the feeling of the original house while adding the new space and Laura helped us to achieve that. After 11 months of the permitting process, we were finally able to start work the week of Thanksgiving 2016! Blue Dog Construction (http://bluedogrenovation.com) was our contractor of choice. It was a pleasure to work with Andrew, even when the project took way longer than initially expected to. We were able to move back in January 2018 and the final finishing touches were done by June. We are still in the process of figuring the best use of the new spaces but absolutely love it! Now it's on to getting the front and back yards back in acceptable order.
Here are just a couple of Before and After photos. If you want to see the full photo story it's here!


Before
After
Back After


Saturday, September 3, 2016

Sandbox

Wow, it's been three years since I've last posted here...you'd think we've been busy or something. Briefly, in the last 3 years we've replaced all of our indoor pipes, planted some more permanent landscaping, added a second raised bed (tomatoes!) and had a baby. That baby, who's not really so much of a baby anymore, was the inspiration for our latest project. She loves digging in my raised beds, so I figured she would love a sandbox. She plays in the sandbox at the park and at daycare so I guessed this would be a slam dunk. Additionally, the box would take up some valuable weed space and mean one less patch to pull come next spring. Win, win for everyone.
I found a design that I liked that included a lid, which was definitely required to keep out the neighborhood cats and other critters that may make use of it as a commode. Multiple trips to the hardware store later and we were in business to start building!!
After a week of cutting, staining and varnishing we were ready to starting putting all the pieces together. Thank goodness I had directions, although some parts didn't quite make sense to I improvised some things.
C helping me place the boards

Enjoying the new set up!
Did I mention that the lid folds back into little kid sized benches??! To be honest I'm pretty proud of this project and kind of wish I could make an adult sized one too. C seemed pretty happy to kick her shoes off and stick her feet in the sand while I kept puttering around the yard. All in all a pretty successful addition to the garden!!

Friday, July 26, 2013

Summer Garden 2013

This spring I felt a little bit of the Keeping up with the Jones in our front yard. While we were by no means crazy overgrown, our front yard was looking a little more au naturale that I would have liked. I have a plan that once a year I'll plant some more permanent perennials and then fill in the rest with pretty annuals. In my mind this means that each year the amount of weeding and planting should get less and less. Of course, when I let the weeds run rampant for a few years, it just means that it takes that much longer to weed later. Sigh...
After a neighbor commented on the slightly-ness of our front yard (not in a mean way I assure you) I felt it was time to start cracking, I mean weeding!
Unfortunately I don't have any good before pictures but just imagine lots of weeds, dandelions, and 2-3ft tall grasses.
And now? Well there are still some weeds but it definitely looks a bit purtier:


A multicolor biddleia that I planted in the spring. I wasn't sure if it would flower this year but it seems to be doing just fine!


The petunias took a hard hit this year as our snail population was a voracious out of control horde. Once weeding commenced our street looking like quite the snail battlefield. I bet I could have gotten a pretty penny from a French restaurant. Escargot anyone?


These petunias near the front door faired better as they were planted post snail massacre. However the one iris bud that emerged was a tasty tasty treat for something.


The lavender flourished and an agapanthus was rescued from a hostile grass takeover.

Thursday, June 6, 2013

Backyard patio x3


So hopefully this will be the third and final rendition of a small patio/ Kiwi washing pad. Initially when we moved in I puzzled the stones together on top of the soil.


So nicely puzzled together...

Then we wanted to make them more level, so up came the stones to be re-puzzled together for a more even effect. Of course the stones didn't go together the same for whatever reason... Some ground cover was planted with the hopes that it would grow between the stones and that was to be it's final rendition.


What was supposed to be the final configuration...

However, whenever we washed Kiwi, the water puddled and didn't drain and that was unsatisfactory. So third, and what will hopefully be the last, try to make this functional and beautiful began.
First, we pulled up the existing stones and then dug down about a foot. Next we filled most of the pit with coarse stones to help with drainage, then a layer of fine crushed gravel, then our stones.


Third time's a charm

While I enjoyed puzzling the stones together the first two times, the
third time involved a lot of cursing and general unpleasantness. We filled in the areas between the stones with the fine gravel for stability. It doesn't quite drain as well as we would like (our theory being that our layer of crushed gravel is a bit too thick), but it's much better than before. Pretty oxalis have been planted along the back in the hopes of keeping the weeds at bay.


Final installation!


Hopefully in the next couple of weeks we will have attached a hose reel for our unruly water hose. I'm not sure when the fencing will come down to keep Kiwi off of the lawn. I'd like to give the roots the best chance for survival so the fencing may be up until next summer...

Thursday, May 16, 2013

House Project #9: That Patch of Grass


Pre-lawn
Well this winter we finally got around to starting our lawn project. We knew we needed to figure out some way to level the ground as our back yard slopes towards the house. Since we were already working on using the existing underground watering system to put in an above ground drip system we also spent some time thinking about how to get sprinklers for the lawn installed. Eventually we came up with the plan to basically build a low raised bed for the lawn and have sprinklers come up out of the border.
Trenches dug with beams in place
Our lawn space isn't that big so we decided to go with 6" x 8" x 12' pressure treated beams to use as our border, but first we had to dig trenches to lay the water PVC pipe for the sprinklers and allow for leveling of the beams. Once the trenches were dug it was time to start piecing everything together. Luckily for us our brother-in-law is pretty handy at this sort of thing and it only took us a day to install the pipes, cut, level and brace the beams and install the sprinklers. Then we needed to refill the trenches and wait for most of the rains to end before planting the seeds.

Prepping for seeds!
Planting the seeds required digging up all the dirt again to help aerate the soil. Then it was time to mix in some lime to help with the soil pH. Our soil is pretty acidic from the giant redwood tree in the back, so we will most likely need to do a second round or more to get the pH to be more neutral in the future. Then it was time to spread the seeds (a nice mix of drought resistant), add some fertilizer, layer some top soil, add some fencing for protection, water and wait!
A month and a half later we have :
Our small patch of grass!
 Now we're just letting all those little roots take hold and trying to keep Kiwi from digging around. But this project has been so far successful and we are getting ready to start thinking about the next thing for the backyard!

Saturday, April 27, 2013

Joys of home ownership

A few months ago our dryer started to not, well, dry as well as it should. A few weeks after that it stopped drying altogether. Of course, being the bright, intelligent adults that we are it took us about 5 times trying to dry the same load of clothes to figure out our drying was busted. Our washer/dryer set are pretty old (do they even make Whirlpool anymore?), so I considered just getting a shiny new set. Yes! In pretty colors! Fortunately, my much more (at least in this instance) practical (read-electronically inclined) husband started interwebbing it and figured out that most likely we just needed to replace one small part on the dryer and viola! Heated dryer instead of gas run clothes tumbler. Off to the hardware store he went, picked up the less than $20 part and thanks to You Tube installed said part in an afternoon. Dashed were my dreams of a technicolor laundry room, but hey, our clothes are now dried in one session and money saved for more important items still to be determined, so all in all a successful jaunt down the never ending path of owning a home.
On another plus side: We got to try out our new shopvac!